
Styling Your At Home Blooms - Stems by Kerry
- Katy Spence
- Aug 6, 2025
- 3 min read

If you’ve ever wished you could style your bouquet like an Instagram pic, we’ve got good news, you absolutely can. With a little know-how and a few insider tips from our in-house flower stylists, you can turn your fresh bunch into a showstopping centrepiece.
Got a new bouquet from Stems by Kerry (or just treated yourself to something lovely)? The flower styling fun starts the moment you unwrap it. Each bunch comes with its own personality — and we’re here to help you bring out the best in it.
🌿 Before You Begin
Let’s set the stage for your floral masterpiece:
Grab a squeaky-clean vase — this keeps your flowers fresher for longer. Need a sustainable cleaning hack? [Check out our eco-friendly vase cleaning tips →]
Trim the stems — snip about 1cm off each stem at a sharp angle just before they go in the water. It helps them drink better and keeps them perkier.
Now you're ready to get arranging!
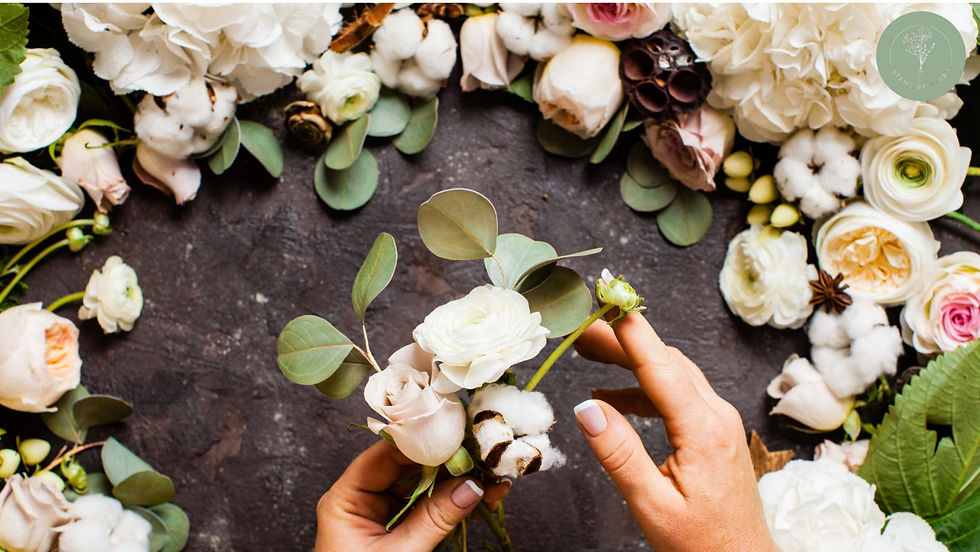
🌸 Tip 1: Get to Know Your Flowers
Don’t just plonk them in and hope for the best. Take a moment to really look at your bouquet.
What shapes and colours jump out?
Which stems are tall and strong?
Which ones are bendy and playful?
It’s a lovely, mindful moment — plus it’ll help you decide how to space things out for the best effect.
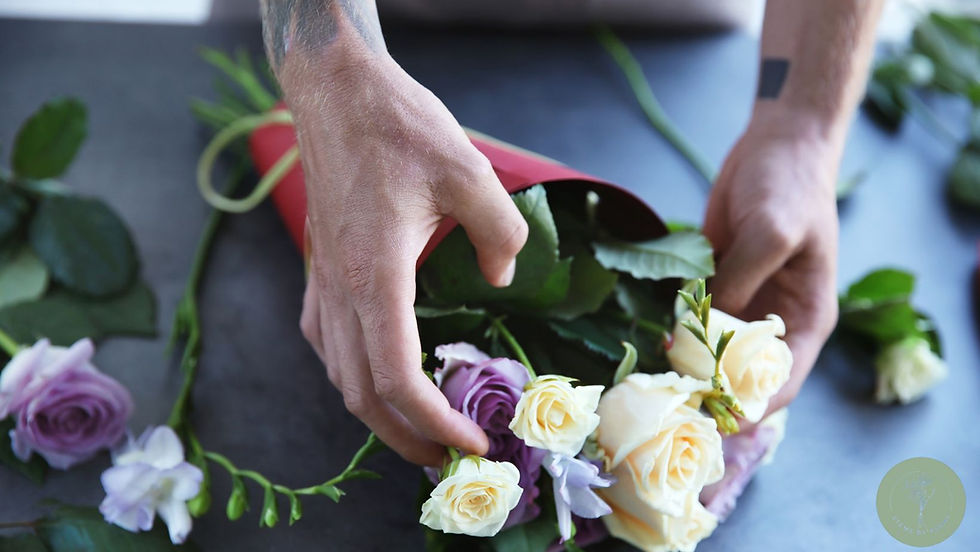
✖️ Tip 2: Master the Cross Technique
Flower arranging isn’t about perfection, it’s about being creative and having a play to see what works. But one of our favourite little tricks? The cross technique.
Here’s how:
Start by placing your first stem so it touches the bottom of the vase and leans diagonally against the rim.
Do the same with your next stem but in the opposite direction — like you’re building a mini wigwam.
Keep turning the vase as you go, layering the stems criss-cross over each other to build a frame.
Not only does it give each flower its space, but it also creates that natural, airy look we all love. Pro tip: mix up the colours as you go for a vibrant, balanced arrangement.

🍃 Tip 3: Strip Off (the Leaves)
To keep your water fresher for longer, remove any leaves that would sit below the waterline. Our team usually pre-trims your bouquet before it reaches you, but depending on the vase you choose, you might need to tweak it.
As a rule of thumb: if the leaves would sit in the water, strip them off. Your bouquet (and your nose) will thank you later.
🎨 Tip 4: Mix Up Your Heights
Want that effortlessly chic, just-picked-from-a-meadow look? Vary the stem lengths. No symmetry here, please , let it be wild and wonderful.
Pop some stems in deeper, others higher up.
Create gentle height differences to keep things visually interesting.
Think movement and balance, rather than matching and measured.
Natural, but make it stylish.
🌱 Tip 5: Show Off Those Soft Stems
Some flowers have softer, more flexible stems that naturally lean or hang — like they’re doing a little stretch.
Make the most of this by placing them around the rim of your vase so they drape gently and add softness to your design. It’s a subtle touch that makes all the difference.

🌾 Tip 6: Save the Tall Ones for Last
The tallest stems are your bouquet’s main event — the headliners, if you will. Save them for last so you can give them pride of place without squashing the smaller flowers.
Position them to add height, volume, and structure. Instant wow factor.
💐 Want Your Flowers to Last Even Longer?
You’ve done the arranging , now let’s keep them looking their best. Head over to our Flower Care Tips & Tricks blog where we spill all the secrets on how to extend the life of your bouquet, especially in summer. From vase hacks to water refresh schedules, we’ve got you covered.
Your Bouquet, Your Way
Styling flowers isn’t about rules, it’s about creating something you love. With a little practice (and a few wonky stems along the way), you’ll be arranging like a pro in no time.
Tag us in your bouquet creations — we love seeing how you bring your blooms to life at home.


Comments